DESIGN THE DATA EDITING FUNCTIONALITY

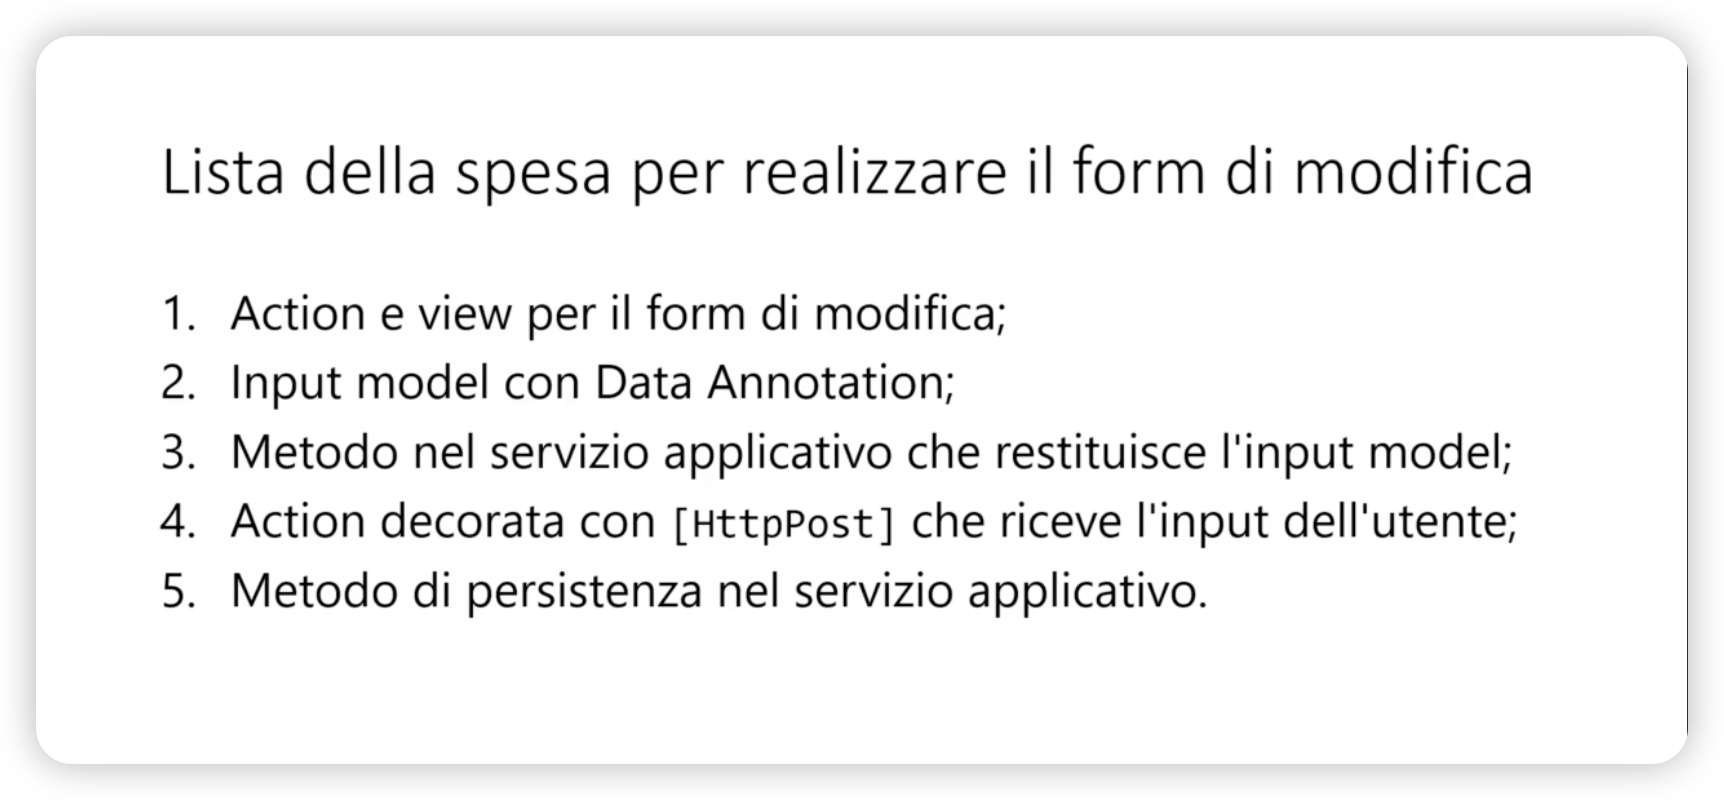
Let’s go through a slide to see what we need to make the edit form.

Let’s start with the Input Model class. We keep responsibilities separate and avoid the temptation to use other classes. Our input model for editing will be CourseEditInputModel.cs

We see a Data Annotation Display that is not for validation but only to display a label in the UI that will facilitate translations in multilingual sites.

In the CourseEditInputModel.cs class in addition to the Data Annotation Display, there is another new feature. This class implements IValidatableObject, this interface allows you to write validation logic within the input model, By overriding the Validate method. I’ll show you the code.

Otherwise, the points have been implemented one by one, except for the View, go to the CoursesController and look at the edit methods. Browse down to the concrete implementations in the three application classes and look at the code that has been written; by now you should be familiar with it. The difference with the input form is that in the http GET method we have to enhance the input model and not present an empty course because the course has already been entered.
REALIZE THE DATA EDITING FORM
Let’s see what the specification is.

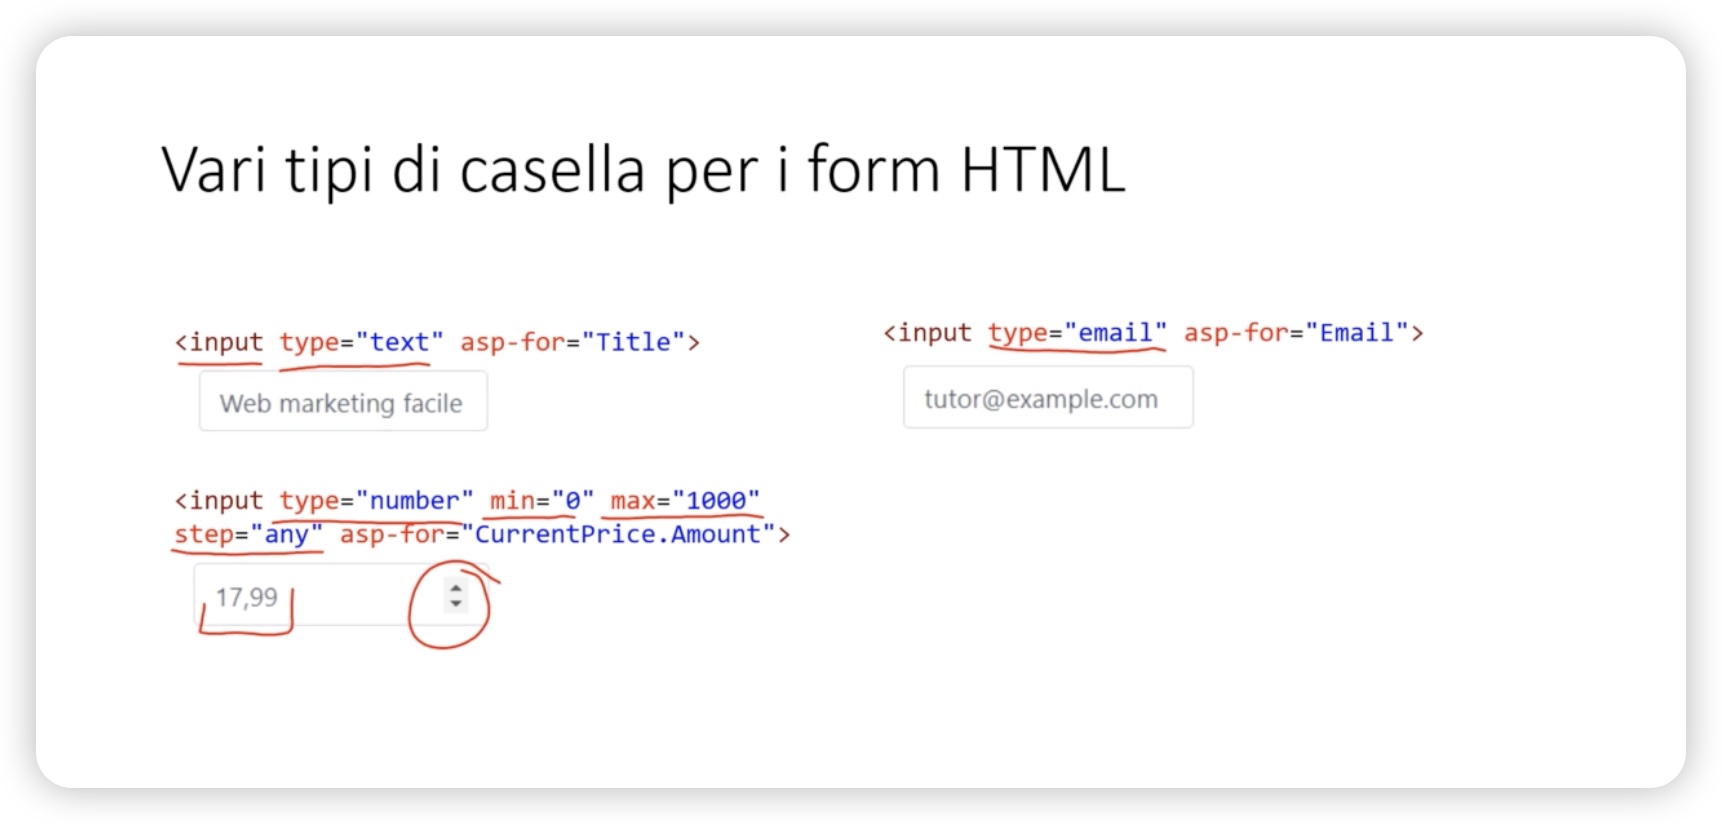
For the image the string type is not appropriate, the user will have to upload a binary file, that the product image file. The image shows the form we are going to make.

The field Id is present but is hidden; we will use it when, for example, we save the course. Even if properties are nested within complex objects, we can use Dot Notations to refer to them.


INVALIDATE THE CACHE AND CONFIRM THAT IT HAS BEEN SAVED
In this part we are going to close the circle around the editing functionality. We must first open the Course DetailView and insert an edit button, as per the specification.

This button will not be displayed all the time, only the course author will see it, this when we implement authentication and authorization, while students and anonymous users will not see it. This can be a good alternative to implementing an entire restricted area. Let’s see how I implemented the edit button in the Detail View.

If we change the title of a course and return to the list we will see that such a title did not update in when it was drawn from the cache. Invalidating the cache for the course list is a big problem because as you will remember the key is built on the combination of several variables; so, we have to wait for the cache to expire to see the updated title. What we can do instead is to invalidate the cache for the course detail whose key depends on the Id field alone and redirect the user to that View.

Let’s look at the code that invalidates the cache for the course detail page.

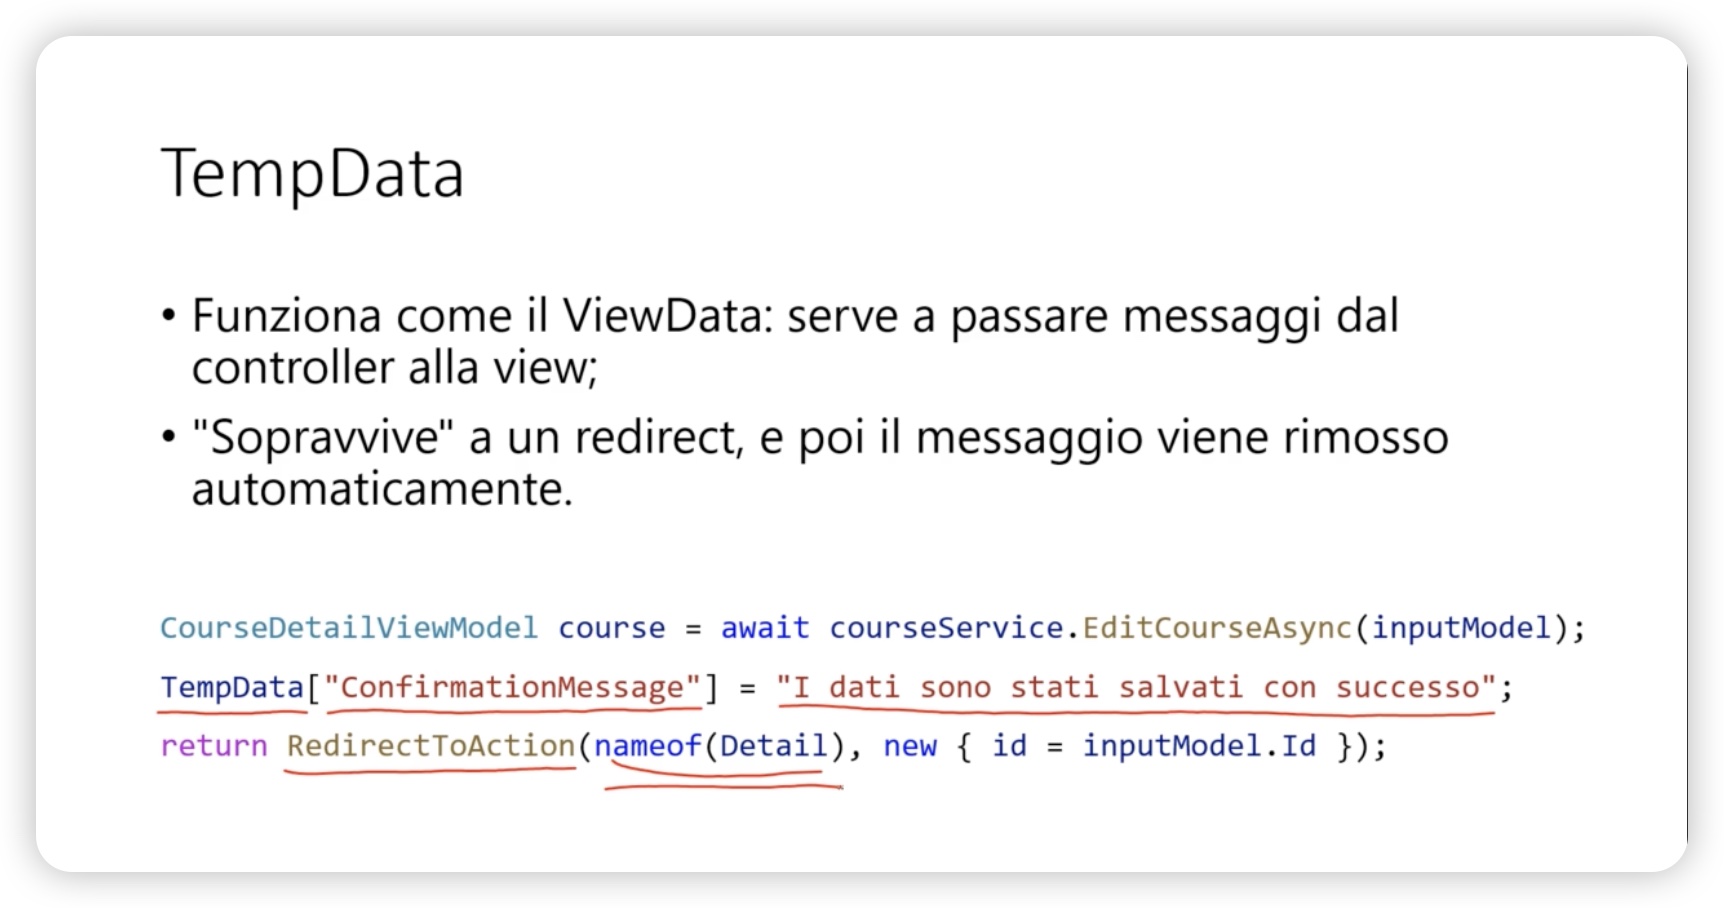
Once we have redirected the user to the detail page where they will read fresh data, i.e., from the database we can inform them that the change was successful using the TempData object whose associated message remains available after a redirection.

LINK TO CODE ON GITHUB
Download the section code15 or master branch or clone the GITHUB repository to have all sections available in your favorite editor.


Leave A Comment